
Custom Made Mylar Bags offer versatility and durability, making them a popular choice for packaging various products. To begin with, printing on these bags involves several steps and considerations to ensure high-quality results. This guide explores the process of printing Mylar bags, detailing the methods, materials, and best practices to achieve professional outcomes.
Understanding Mylar Bags and Their Printing Requirements
What Are Mylar Bags?
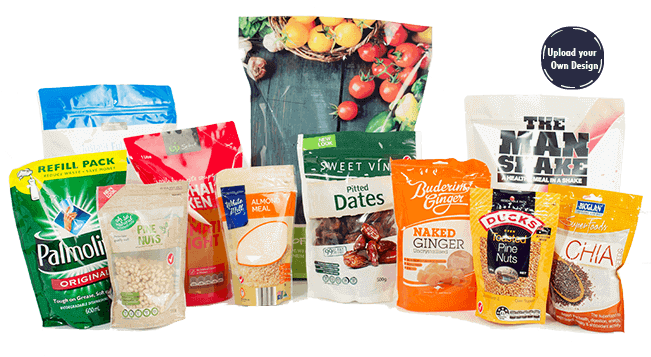
Mylar bags are made from a type of polyester film known for its strength and resistance to moisture, light, and air. Because of these properties, they are often used to package items that require protection from environmental factors. Custom-made Mylar bags are tailored to meet specific needs, including size, shape, and design. Furthermore, these bags can be printed with custom designs, making them suitable for branding and marketing purposes.
Printing Methods for Mylar Bags
Several printing methods can be used to apply designs to Mylar bags. Firstly, flexographic printing involves using flexible plates to transfer ink onto the Mylar surface. This method is ideal for large runs due to its speed and cost efficiency. Secondly, rotogravure printing uses engraved cylinders to transfer ink, offering high-quality results with vibrant colors. However, this technique is typically used for longer production runs because of its setup costs. Lastly, digital printing provides flexibility and is suitable for small batches or intricate designs. Therefore, businesses can choose the method that best aligns with their production needs and budget.
Preparing for the Printing Process
Designing Your Artwork
Creating artwork for Mylar bag printing involves several considerations. Firstly, ensure that the design fits within the dimensions of the bag. Additionally, account for the bag’s shape and any potential folds or seams. Moreover, use high-resolution images to ensure that the print quality remains sharp and clear. Finally, choose colors that will stand out against the Mylar’s reflective surface. With careful preparation, your design will translate effectively onto the final product.
Selecting the Right Ink
Choosing the appropriate ink is crucial for achieving a durable print. In general, inks used for Mylar bag printing should be designed for plastic surfaces to ensure adhesion and longevity. Furthermore, consider using UV-curable inks that dry quickly and resist fading. Additionally, ensure that the ink is compatible with the printing method you are using. Thus, selecting the right ink will contribute to the quality and durability of the final product.
The Printing Process
Setting Up the Machine
Before starting the printing process, make sure that the printing machine is properly set up. Firstly, load the Mylar bags into the machine, ensuring that they are aligned correctly to avoid misprints. Secondly, calibrate the machine according to the design specifications, including the ink type and printing method. Furthermore, run a few test prints to check for alignment, color accuracy, and overall print quality. By taking these steps, you can prevent common issues and ensure a smooth printing process.
Printing and Quality Control
Once the machine is set up, begin the printing process. As the printing progresses, monitor the output for any signs of issues such as smudging or color inconsistencies. Moreover, regularly inspect the prints to ensure that they meet your quality standards. If necessary, make adjustments to the machine settings to correct any problems. Finally, conduct a final inspection of the printed Mylar bags before proceeding with packaging or distribution. This attention to detail will help ensure that the finished product meets your expectations.
Post-Printing Considerations
Curing and Drying
After printing, the Mylar bags must be cured or dried to ensure that the ink adheres properly. Depending on the type of ink used, this process can involve heat or UV light. For instance, UV-curable inks require exposure to ultraviolet light to dry and set. In contrast, heat-set inks might need to be baked at a specific temperature. Thus, follow the manufacturer’s guidelines for curing or drying to achieve the best results.
Packaging and Distribution
Once the Mylar bags are printed and cured, they are ready for packaging and distribution. Firstly, ensure that the bags are handled carefully to avoid any damage to the printed design. Secondly, package the bags in a manner that protects them from moisture and physical damage during transport. Furthermore, label the packages appropriately to facilitate efficient handling and distribution. With proper care in packaging and distribution, you can ensure that the Mylar bags reach their destination in excellent condition.
Conclusion
Printing on Mylar bags involves a detailed process, from designing artwork to selecting inks and operating the printing machine. Custom-made Mylar bags offer a versatile and durable packaging solution that can be tailored to meet various needs. Therefore, understanding the printing methods, preparation steps, and post-printing considerations is essential for achieving high-quality results. Ultimately, businesses can leverage these insights to produce custom Mylar bags that effectively serve their branding and packaging needs. For reliable and effective packaging solutions, consider exploring offerings from Canadian Packaging Companies to find the best fit for your requirements.


Leave a comment
Your email address will not be published. Required fields are marked *