
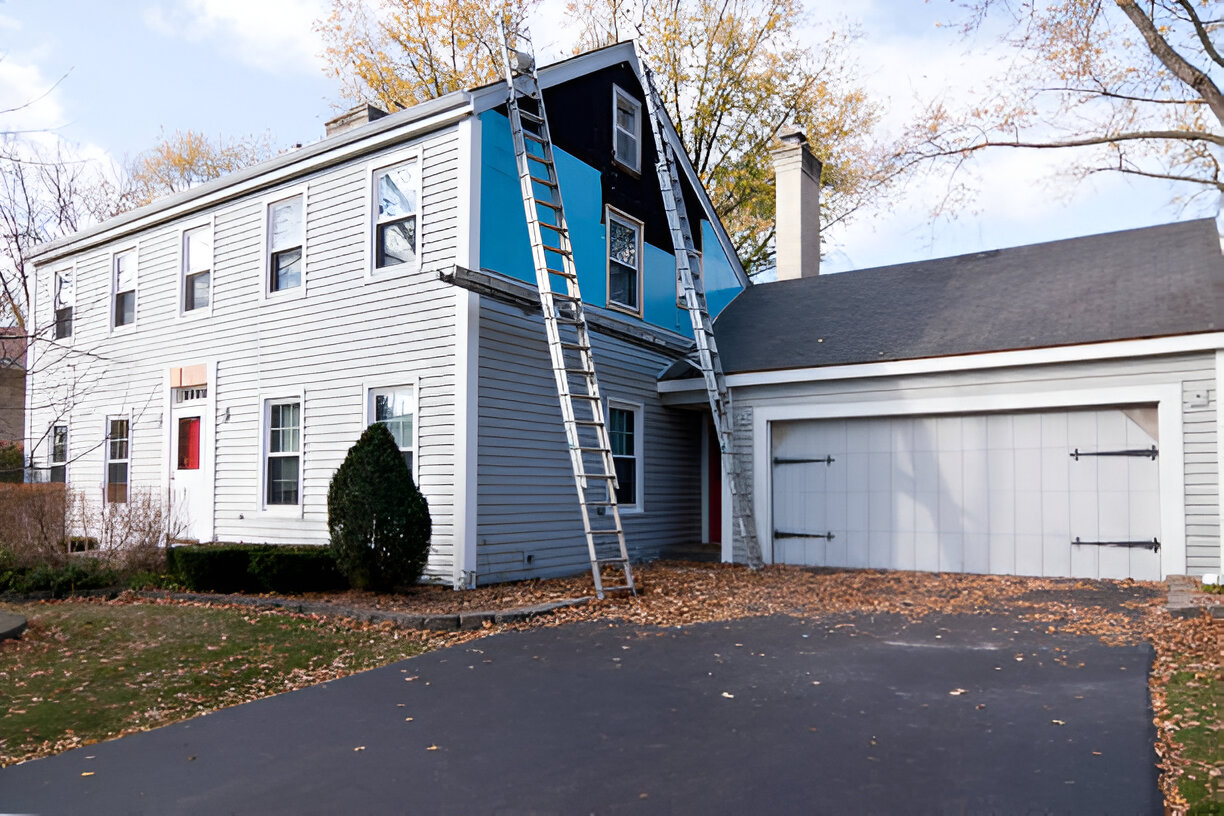
Siding plays a crucial role in protecting your home from the elements while enhancing its aesthetic appeal. Whether you’re looking to replace old siding or install new siding on a newly constructed home, understanding the process and having the right tools and knowledge are essential for a successful project. This comprehensive guide will walk you through the essentials of siding installation, from choosing the right materials to step-by-step installation instructions and maintenance tips.
Choosing the Right Siding Material
Selecting the appropriate siding material is the first step in your project. The choice will depend on your budget, aesthetic preferences, and the climate in your region. Here are some popular siding options:
- Vinyl Siding
- Pros: Affordable, low maintenance, and available in a variety of colors and styles.
- Cons: Can crack in extreme weather, and may fade over time.
- Wood Siding
- Pros: Natural appearance, versatile, and can be painted or stained in any color.
- Cons: Requires regular maintenance, susceptible to termites and rot.
- Fiber Cement Siding
- Pros: Durable, fire-resistant, and mimics the look of wood without the maintenance.
- Cons: More expensive than vinyl, requires professional installation.
- Metal Siding
- Pros: Extremely durable, fire-resistant, and low maintenance.
- Cons: Can be prone to denting, may require painting to prevent rust.
- Brick Siding
- Pros: Highly durable, low maintenance, and excellent insulation.
- Cons: Expensive, labor-intensive installation.
- Stucco Siding
- Pros: Aesthetic appeal, durable, and provides good insulation.
- Cons: Requires professional installation, can crack over time.
Preparing for Siding Installation
Before starting the installation, proper preparation is key to ensuring a smooth process.
- Assess the Exterior
- Inspect the exterior walls for any damage or rot. Repair or replace any damaged areas before proceeding with siding installation.
- Gather Materials and Tools
- Make sure you have all necessary materials and tools, including siding panels, nails, a level, a circular saw, a hammer, a tape measure, a chalk line, and safety gear.
- Remove Old Siding
- If replacing existing siding, carefully remove it and dispose of it properly. Be cautious not to damage the underlying structure.
- Install House Wrap
- House wrap provides an extra layer of moisture protection. Install it over the sheathing, starting from the bottom and working your way up, overlapping the seams by at least 6 inches.
Step-by-Step Siding Installation
- Measure and Cut Siding Panels
- Measure the height and width of the walls to determine the length of the siding panels. Use a circular saw to cut the panels to the required lengths.
- Install the Starter Strip
- The starter strip is the first piece of siding installed at the bottom of the wall. Ensure it is level, and secure it in place with nails.
- Attach the First Siding Panel
- Starting from a corner, place the first siding panel into the starter strip and secure it with nails. Leave a small gap (approximately 1/8 inch) between the panels to allow for expansion.
- Overlap Panels
- When installing horizontal siding, overlap each panel by about 1 inch. This overlap will help keep water from seeping behind the panels.
- Install J-Channel Around Windows and Doors
- J-channels provide a clean edge around windows and doors and help direct water away from these openings. Install them before you continue with the siding panels.
- Cut Siding for Openings
- Measure and cut siding panels to fit around windows, doors, and other openings. Use a utility knife or a jigsaw for precise cuts.
- Install Corner Trim
- Corner trim pieces provide a finished look and protect the edges of the siding. Install them at the corners of the house before continuing with the siding panels.
- Secure Siding Panels
- Continue installing siding panels, working your way up the wall. Ensure each panel is level and securely fastened with nails, leaving the recommended expansion gap.
- Finish with Top Trim
- Once you reach the top of the wall, install the top trim piece to provide a clean finish and seal the top edge of the siding.
Maintaining Your Siding
Regular maintenance is essential to prolong the life of your siding and keep it looking its best.
- Clean Regularly
- Dirt, mildew, and algae can build up on siding over time. Use a soft-bristle brush and a mild cleaning solution to clean the siding annually or as needed.
- Inspect for Damage
- Regularly inspect your siding for any signs of damage, such as cracks, warping, or loose panels. Promptly repair or replace damaged sections to prevent further issues.
- Repaint or Restain
- Wood siding may need to be repainted or restained every few years to maintain its appearance and protect it from the elements.
- Seal Gaps and Cracks
- Check for gaps and cracks around windows, doors, and other openings. Use caulk to seal any gaps to prevent moisture intrusion.
Conclusion
Installing siding is a significant investment that can enhance the appearance and value of your home while providing essential protection from the elements. By choosing the right siding material, properly preparing for installation, and following a step-by-step process, you can achieve professional-looking results. Regular maintenance is crucial to ensure your siding remains in good condition and continues to protect your home for years to come.
FAQs
1. What is the best siding material for my home?
The best siding material depends on your budget, aesthetic preferences, and climate. Vinyl is affordable and low-maintenance, wood offers a natural look but requires more upkeep, fiber cement is durable and mimics wood, metal is highly durable, brick provides excellent insulation, and stucco offers aesthetic appeal.
2. How often should I clean my siding?
You should clean your siding annually or as needed, depending on the accumulation of dirt, mildew, or algae. Regular cleaning helps maintain the appearance and longevity of your siding.
3. Can I install siding myself, or should I hire a professional?
While it is possible to install siding yourself, hiring a professional is recommended for larger or more complex projects. Professional installation ensures proper techniques and reduces the risk of mistakes that could lead to costly repairs.
4. How do I prevent moisture damage behind the siding?
Installing house wrap before siding helps prevent moisture damage by providing an additional layer of protection. Ensuring proper installation and maintenance, such as sealing gaps and cracks, also helps prevent moisture intrusion.
5. How long does siding typically last?
The lifespan of siding varies depending on the material. Vinyl siding can last 20-40 years, wood siding 20-40 years with proper maintenance, fiber cement siding 30-50 years, metal siding 40-70 years, brick siding over 100 years, and stucco siding 50-80 years. Regular maintenance can extend the lifespan of any siding material.


Leave a comment
Your email address will not be published. Required fields are marked *